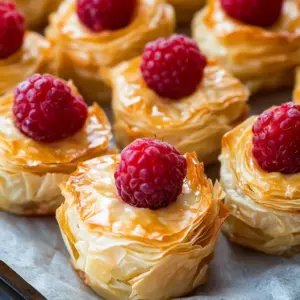
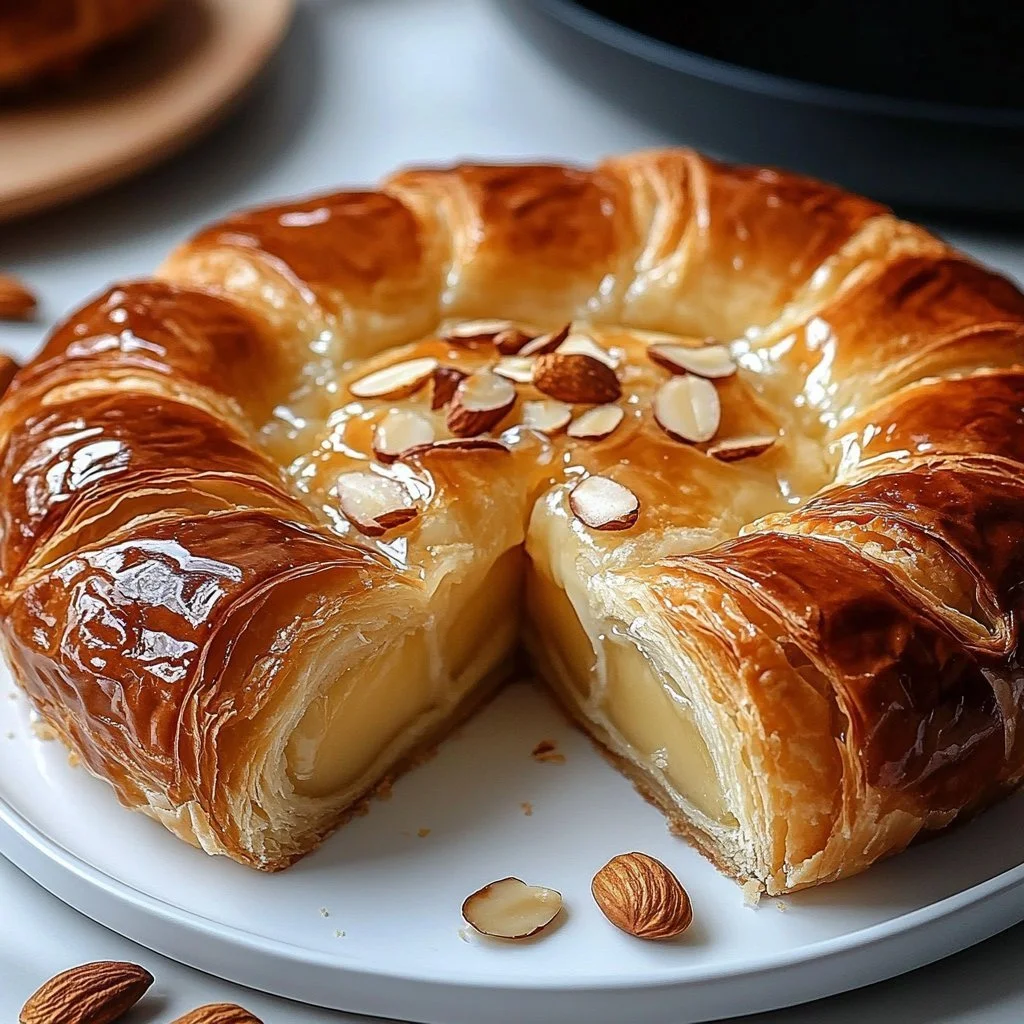
King’s Hawaiian Cheesecake Danish combines the sweet, fluffy texture of King’s Hawaiian bread with a creamy cheesecake filling, making it a delightful treat for any occasion. This recipe transforms your ordinary snack time into a moment of indulgence, and it’s perfect for gatherings, brunches, or simply satisfying your sweet tooth. With a quick and easy, step-by-step approach, you’ll find preparing this dessert to be a breeze, allowing you to focus on what truly matters—enjoying delicious food with loved ones.
Ingredients
To create these heavenly King’s Hawaiian Cheesecake Danishes, gather the following ingredients:
- 2 cups King’s Hawaiian bread dough: This soft and slightly sweet bread adds a unique flavor that elevates the entire dish.
- 1/2 cup cream cheese: The creamy texture provides richness and is the heart of the cheesecake filling.
- 1/4 cup sugar: Sweet, sugar enhances the overall flavor, balancing the tanginess of the cream cheese.
- 1 teaspoon vanilla extract: Aromatic and fragrant, this adds a lovely depth of flavor to the filling.
- 1 tablespoon lemon juice: Juicy and bright, lemon juice adds freshness and a slight zing, cutting through the creaminess.
- 1/4 teaspoon salt: A pinch amplifies all the flavors beautifully.
- 1/2 cup heavy cream: The heavy cream ensures a luscious, velvety filling that melts in your mouth.
- 1 large egg: This helps bind your creamy filling and gives it structure.
- 2 tablespoons butter: Melted butter enhances the flavor and ensures a golden, crispy exterior.
- 1 tablespoon milk: This adds moisture, helping create a smooth filling.
- 1 tablespoon all-purpose flour: Flour thickens the filling, ensuring it holds its shape when baked.
Step-by-Step Directions
Now that you have all your ingredients ready, let’s dive into the easy-to-follow steps to prepare your King’s Hawaiian Cheesecake Danishes:
Preheat your oven to 350°F (175°C). Setting the right temperature is crucial for achieving that perfect golden-brown finish.
Lightly grease a baking sheet. This will prevent your delicious pastries from sticking and make for easy cleanup.
Roll out the King’s Hawaiian bread dough to about 1/4-inch thickness, then cut into squares, ideally 4-6 inches per side. Feel the soft dough beneath your hands, and enjoy the process!
In a mixing bowl, combine cream cheese, sugar, vanilla extract, lemon juice, and salt. Use an electric mixer to mix until smooth and creamy, ensuring all ingredients are well blended.
Gradually add heavy cream while mixing until the mixture is creamy and sumptuous, with a consistency that’s just right.
Beat in the egg until fully incorporated, adding richness and helping the filling maintain its shape during baking.
In another bowl, whisk flour and milk until smooth. This step will ensure there are no lumps in your filling. Once smooth, stir into the cream cheese mixture, combining everything well.
Brush dough squares with melted butter, ensuring every corner is coated. This step adds flavor and helps the dough achieve a beautiful, shiny finish when baked.
Spoon filling into the center of each square. Don’t be shy; the more filling, the better!
Fold corners over the filling and seal tight. This step is crucial for keeping your creamy goodness inside while they bake.
Bake for 18-22 minutes until they are golden brown. The aroma will fill your kitchen, inviting everyone to join you.
Brush the tops with melted butter after baking. This gives a beautiful sheen to the Danishes and enhances the flavor.
Allow them to cool for 5-10 minutes before serving. This waiting period ensures that your fillings set perfectly!
Tips & Tricks
To elevate your King’s Hawaiian Cheesecake Danish experience, consider these optional tips:
- Add a Dash of Spice: A hint of cinnamon or nutmeg in the filling can add warmth and depth.
- Fruit Topping: Adding fresh fruit toppings such as berries or sliced bananas post-baking gives a refreshing contrast.
- Glaze it Up: A simple glaze made of powdered sugar and milk can add sweetness and a beautiful finish.
Experiment with these ideas to personalize your Danishes and make them just how you like them!
Serving Suggestions & Pairings
King’s Hawaiian Cheesecake Danishes shine at any gathering, making them perfect for brunches, tea parties, or celebrations. Pair them with:
- Fresh fruit salad: A light, colorful addition to balance the richness.
- Coffee or tea: The perfect beverage companions to enhance flavors.
- Ice cream: A scoop of vanilla ice cream creates an indulgent dessert experience.
These serving suggestions not only enhance the quality of your meal but also create a welcoming atmosphere for your guests.
Nutritional Information
Each King’s Hawaiian Cheesecake Danish approximately contains:
- Calories: 220
- Fat: 12g
- Carbohydrates: 25g
- Protein: 3g
This treat can be enjoyed in moderation as part of a balanced diet. The balance of creamy texture and sweet flavor will satisfy your cravings without overindulgence.
Storing Tips & Variations
To store your Danishes, allow them to cool completely before transferring them to an airtight container. They can be kept in the refrigerator for up to three days.
For those who want to extend their shelf life, you can freeze the unbaked Danishes. Simply assemble and freeze them on a baking sheet before transferring them to an airtight container. When you’re ready to bake, no need to thaw; just pop them directly into the oven and add a couple of extra minutes to the baking time.
Variations are endless! You can experiment with different fillings like:
- Nutella or chocolate ganache for a dessert twist.
- Fruit preserves for a tart flavor.
- Pecan pie filling or similar to create a unique combination.
Conclusion
King’s Hawaiian Cheesecake Danish is a delightful recipe that combines sweetness and creaminess with the incredible texture of King’s Hawaiian bread. This easy-to-follow recipe invites you to create mouthwatering pastries that are perfect for sharing or enjoying on your own. Don’t hesitate to try this recipe; your taste buds will thank you! Share your experience and tell us which variations you tried!
FAQs
Can I use other types of bread for this recipe?
Yes, while King’s Hawaiian bread adds a special sweetness, you can try other sweet bread varieties, ensuring they have a similar texture.Can I make ahead of time?
Absolutely! You can prepare the filling in advance and store it in the refrigerator. Assemble and bake when you’re ready to serve.What can I do with leftover filling?
If you have extra filling, you can use it as a topping for pancakes or waffles, or even fill mini pastry shells.Are they freezable once baked?
Yes, you can freeze baked Danishes. Just ensure they cool completely before storing in an airtight container.How can I achieve the perfect golden brown color?
Ensure your oven is preheated and consider brushing the dough with melted butter before and after baking to get that lovely sheen and delicious flavor.
King’s Hawaiian Cheesecake Danish
Ingredients
Danish Pastry Base
- 2 cups King’s Hawaiian bread dough This soft and slightly sweet bread adds a unique flavor.
- 2 tablespoons butter Melted butter enhances the flavor and ensures a golden, crispy exterior.
Cheesecake Filling
- 1/2 cup cream cheese Provides richness and is the heart of the cheesecake filling.
- 1/4 cup sugar Enhances the overall flavor, balancing the tanginess of the cream cheese.
- 1 teaspoon vanilla extract Adds depth of flavor.
- 1 tablespoon lemon juice Adds freshness and a slight zing.
- 1/4 teaspoon salt Amplifies all the flavors beautifully.
- 1/2 cup heavy cream Ensures a luscious filling.
- 1 large egg Helps bind the filling.
- 1 tablespoon milk Adds moisture for a smooth filling.
- 1 tablespoon all-purpose flour Thickens the filling.
Instructions
Preparation
- Preheat your oven to 350°F (175°C).
- Lightly grease a baking sheet.
- Roll out the King’s Hawaiian bread dough to about 1/4-inch thickness, then cut into squares, ideally 4-6 inches per side.
- In a mixing bowl, combine cream cheese, sugar, vanilla extract, lemon juice, and salt. Mix until smooth and creamy.
- Gradually add heavy cream while mixing until creamy.
- Beat in the egg until fully incorporated.
- In another bowl, whisk flour and milk until smooth, then stir into the cream cheese mixture.
- Brush dough squares with melted butter.
- Spoon filling into the center of each square.
- Fold corners over the filling and seal tight.
Baking
- Bake for 18-22 minutes until golden brown.
- Brush the tops with melted butter after baking.
- Allow to cool for 5-10 minutes before serving.